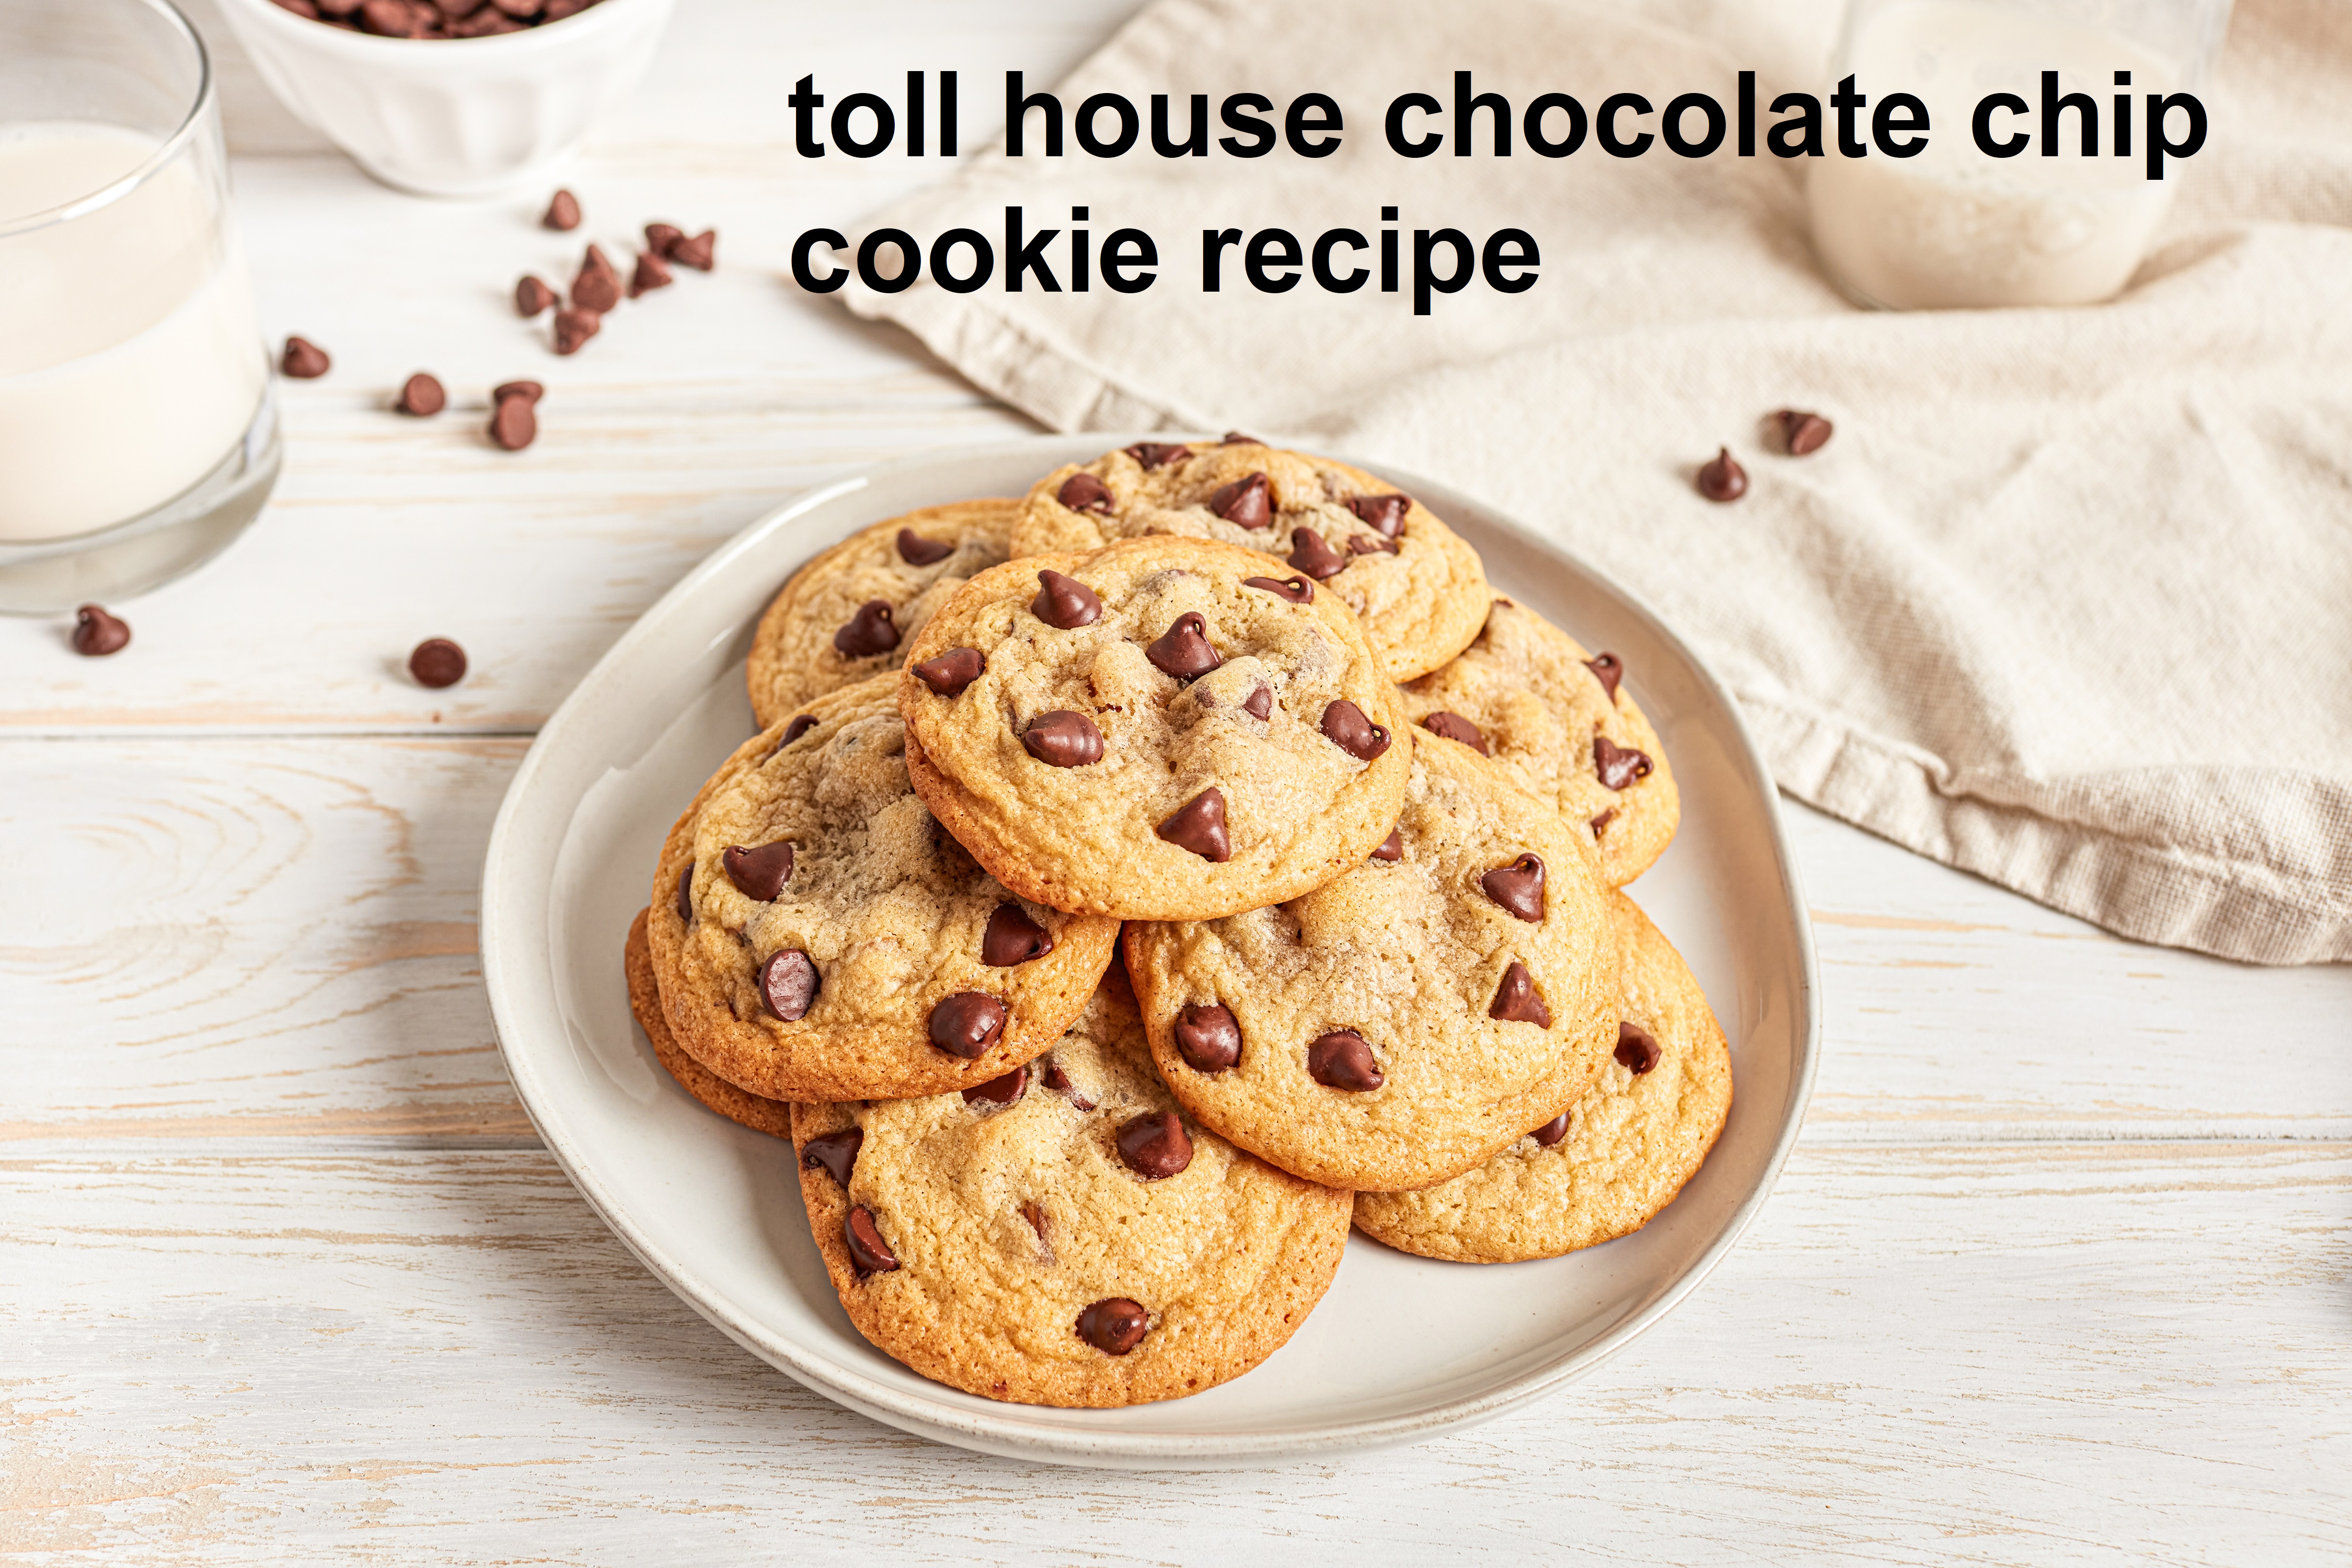
toll house chocolate chip cookie recipes
Hello. Welcome to solsarin. This post is about “toll house chocolate chip cookie recipes”.
Every American has a chocolate chip cookie memory. The scene of children coming home from school to the scent of fresh-baked chocolate chip cookies wafting from the oven is as ubiquitous as the chocolate chip cookie itself.
It all started back in 1939. Ruth Wakefield, who ran the successful Toll House restaurant in Whitman, Massachusetts, was mixing a batch of cookies when she decided to add broken pieces of Nestlé Semi-Sweet chocolate into the recipe expecting the chocolate to melt. Instead, the semi-sweet bits held their shape and softened to a delicate creamy texture and the chocolate chip cookie was born.
Ruth’s ‘Toll House Crunch Cookie’ recipe was published in a Boston newspaper and her invention of the chocolate chip cookie quickly became the most popular cookie of all-time.
Ingredients
-
2 1/4 cups all-purpose flour
-
1 teaspoon baking soda
-
1 teaspoon salt
-
1 cup (2 sticks) butter, softened
-
3/4 cup granulated sugar
-
3/4 cup packed brown sugar
-
1 teaspoon vanilla extract
-
2 large eggs
-
2 cups (12-ounce package) NESTLÉ® TOLL HOUSE® Semi-Sweet Chocolate Morsels
-
1 cup chopped nuts (Optional. If omitting, add 1 to 2 Tbsp. of all-purpose flour.)
Directions
CAN I FREEZE COOKIE DOUGH?
I love to make a double or triple batch of cookies so we can eat one, share one and freeze one for later. Store uncooked cookie dough properly in an airtight container for up to 3 months. When you are ready to bake the dough simply take the dough from the freezer, warm to room temperature and bake as instructed.
WHEN IS THE BEST TIME TO TAKE CHOCOLATE CHIP COOKIES OUT OF THE OVEN?
To prevent having hard and burnt cookies, take them out of the oven just before they look done. You want them to be just barely golden brown. They will continue to bake for a couple of minutes on your baking sheet. But this little tip will drastically change your cookies for the better!
10 Guaranteed Tips for Thicker Cookies
-
Chill the cookie dough
Not all cookie dough requires the chilling step– and I normally determine that by how the cookie dough looks and feels. If the cookie dough is particularly sticky, wet, or greasy, chilling is in its best interest. And yours! Chilling cookie dough helps prevent spreading. The colder the dough, the less the cookies will over-spread into greasy puddles. You’ll have thicker, sturdier, and more solid cookies. Whenever I make cookies, I plan ahead and chill the cookie dough overnight. After chilling, let your cookie dough sit at room temperature for about 10 minutes (or more, depending on how long the dough has chilled) before rolling into balls and baking. Your cookie dough may be a solid rock, so letting it slightly loosen up helps.
-
Line your baking sheet.
Use a silicone baking mat or parchment paper. Coating your baking sheet with nonstick spray or butter creates an overly greasy foundation, causing the cookies to spread. I always recommend a silicone baking mat because they grip onto the bottom of your cookie dough, preventing the cookies from spreading too much. These mats also promote even browning. Mats can get greasy! Here is how to clean your silicone baking mats.
-
My tall cookie trick.
Roll your cookie dough into tall balls instead of perfectly round spheres. Taller balls of cookie dough ensure thicker cookies. You see this cake batter chocolate chip cookies photo? (Scroll down in the post.) Just like that. -
Cool your baking sheets.
Never place cookie dough balls onto a hot baking sheet. Always room temperature baking sheets.

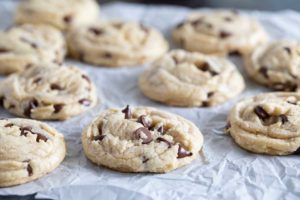
Toll-House-Cookie-Recipe -
Quality baking sheets are a MUST.
Did you know the color and material of your baking sheets greatly impacts the way your cookies turn out? Dark metal sheets typically over-bake cookies and thin flimsy cookie sheets = burnt bottoms. I’ve tested many brands and my favorite is USA Pan half sheet baking pan. (Not sponsored!) They’re a wonderful size for baking a dozen cookies, have an edge so they’re great for other recipes like toffee, chex mix, and yellow sheet cake. I suggest owning a few. I have 6!
-
Cool butter.
When butter is too warm, it is too soft. When butter is too soft, your cookies will spread all over the baking sheets. Room temperature butter is actually cool to touch, not warm. When you press it, your finger will make an indent. Your finger won’t sink down into the butter, nor will your finger slide all around. Soften butter to room temperature quickly with this trick!
-
Correctly measure the flour.
Cookies spread because the fat in the cookie dough melts in the oven. If there isn’t enough flour to hold that melted fat, the cookies will over-spread. Spoon and level that flour or, better yet, weigh your flour. If your cookies are still spreading, add an extra 2 Tablespoons of flour to the cookie dough.
-
Don’t overmix the cookie dough ingredients.
Cream the butter and sugar for only as long as you need to, usually about 1-2 minutes. Don’t begin beating then leave the room with the mixer running. I’m guilty of this too! Whipping too much air into the dough will cause those cookies to collapse when they bake. I guarantee that.
-
One batch at a time, on the middle rack.
I know that sounds a little crazy, but that’s how I bake every single cookie recipe. Here’s why: you get the best possible results when the oven only concentrates on that 1 batch. If you absolutely need to bake more than one batch at a time, rotate the baking sheets from the top rack to bottom rack a couple times through the baking process to encourage even baking. And turn the sheets around as well. Ovens have hot spots.
-
Freeze for 10 minutes.
We’re coming full circle back to tip #1! After you roll the cookie dough into tall balls, freeze them for 10 minutes. Here’s how I do it: after I roll cookie dough into balls to bake them, I place the balls on a plate and put the entire plate in the freezer. Then I preheat the oven. This time in the freezer firms up the balls which may have gotten a little soft while handling with our warm hands. Remember: the colder the dough, the thicker the cookie.
Which is better for cookies baking soda or baking powder?
Even the most amateur bakers know one thing to be true: Baking is a science. Leaving out even one ingredient (or using the right ingredients in the wrong amounts) can result in a decidedly un-delicious disaster.
But how, you ask, can baking soda be so important when it looks so unassuming? Here’s what you need to know about the tiny-but-mighty leavening agent—and what the heck it’s doing in your cookie recipe
Baking Soda vs. Baking Powder
Baking soda and baking powder are both leavening agents, or ingredients that make baked goods rise. They look almost identical and they have similar purposes, but they are not the same thing and they can’t always be used interchangeably.
When baking soda, also called sodium bicarbonate, is combined with an acid (like buttermilk or lemon juice) and a liquid, it produces the carbon dioxide that helps the dough or batter rise.
Baking powder, meanwhile, already contains the sodium bicarbonate and acid it needs to become activated—all it needs is a liquid to produce carbon dioxide. Most recipes that call for baking powder are referring to the double-acting varieties, which react twice in the baking process: Once when it’s combined with liquid, and again when the product is heated.
What Does Baking Soda Do In Cookies?
So, if baking soda and baking powder both create carbon dioxide, are they really that different? Yes and no. Baking soda is used in recipes that include one or more acids. When the recipe doesn’t include an acid, baking powder is used. A recipe that calls for both ingredients probably contains an acid, but not enough to completely leaven the batter or dough.
Baking soda also serves another important purpose when it comes to cookies: It encourages spreading by raising the mixture’s pH, which slows protein coagulation. This gives the dough more time to set before the eggs set, according to Serious Eats, which results in a more evenly baked cookie.
6 Ingredients That Affect Your Cookies
Have you ever baked cookies that were too hard, too soft or didn’t taste the way they should? The ingredients you used could be the culprit – using different sugars, melted butter, baking powder or baking soda can alter a cookie’s texture and taste. To demystify the process, we’ve broken down the six ingredients that affect your cookies so you can bake a consistently excellent batch time and time again.
Tip: After you’ve baked the perfect cookie, spend less time cleaning up your kitchen with Dawn. Dawn Dish Soap contains 30 percent more cleaning ingredients per drop than the leading nonconcentrated brand, meaning that you can quickly and easily wash mixing bowls, baking pans and measuring cups.
Tip: Substituting white sugar for brown sugar (or vice versa) will not affect the cookie’s sweetness, but the texture and color will be affected.

1. Granulated sugar
Using granulated white sugar will result in a flatter, crispier and lighter-colored cookie. Granulated sugar is hygroscopic, so it attracts and absorbs the liquid in the dough. This slows down the development of the gluten (flour), which makes the cookies crispier.
2. Brown sugar
Using brown sugar will result in a denser, moister cookie. Brown sugar is also hygroscopic (more so than granulated sugar) and will therefore also attract and absorb the liquid in the dough. The difference is in the molasses that makes brown sugar brown: It adds moisture and slight acidity, resulting in a moist and chewy texture.
3. Melted butter
When you melt the butter, water in the butter will dissolve the sugar, resulting in cookies that are tender and flat. In most cookie recipes, you are instructed to cream room-temperature butter and sugar together. This is because mixing the butter and sugar granules creates air pockets in the dough, which results in puffier cookies.
4. Baking powder
Baking powder contains sodium bicarbonate and acidic salts. The reaction of these two ingredients results in a cookie that is soft and thick, but slightly harder.
The baking powder reaction happens in two stages:
- The first reaction occurs when you add the powder to the dough
- The second reaction takes place when the dough is exposed to heat during the baking process
Because the reaction takes place in two different stages, you do not have to bake the dough immediately, as you would if you were using only baking soda.
5. Baking soda
When added to dough, baking soda releases a carbon dioxide gas which helps leaven the dough, creating a soft, fluffy cookie. Baking soda is generally used in recipes that contain an acidic ingredient such as vinegar, sour cream or citrus.
Tip: For recipes that call for baking soda, work quickly and bake immediately after mixing, or the reaction will cease and your cookies will fall flat.
Tip: Sometimes, a little bit of baking soda is not enough. Baking soda requires an acid ingredient to react with. Instead of adding more liquid to your dough (like sour cream or buttermilk), you can simply add a bit of baking powder. These cookies will turn out tender and chewy.
6. Chilling dough for 24 Hours
This last one isn’t an ingredient, but it’s still important to consider. If you’re planning ahead for cookies, chilling your dough for a full day will result in a flatter, crispier cookie. Giving the ingredients in your dough time to meld together and the butter to harden makes the baking process react differently than for room-temperature dough.
Thank you for staying with this post “toll house chocolate chip cookie recipes” until the end.
More Posts :
- atlantic is to ocean as novel is to
- bromine and potassium iodide
- japanese strawberry shortcake recipe
- campbell’s vegetable beef soup
- examples of colonialism today
- what is a baby cow called
- squash casserole with ritz crackers
- what is the proper medical term for the armpit?
- 67 chevelle heater core replacement
- pesto pasta recipes with vegetables