how to put alcohol ink on a tumbler
Hello dear friends, thank you for choosing us. In this post on the solsarin site, we will talk about ” how to put alcohol ink on a tumbler“.
Stay with us.
Thank you for your choice.
Can you put alcohol ink over epoxy?
Can you use alcohol ink on stainless steel?
Do you have to seal alcohol ink on metal?
Custom Tumblers DIY Video Tutorial Using Alcohol Inks!
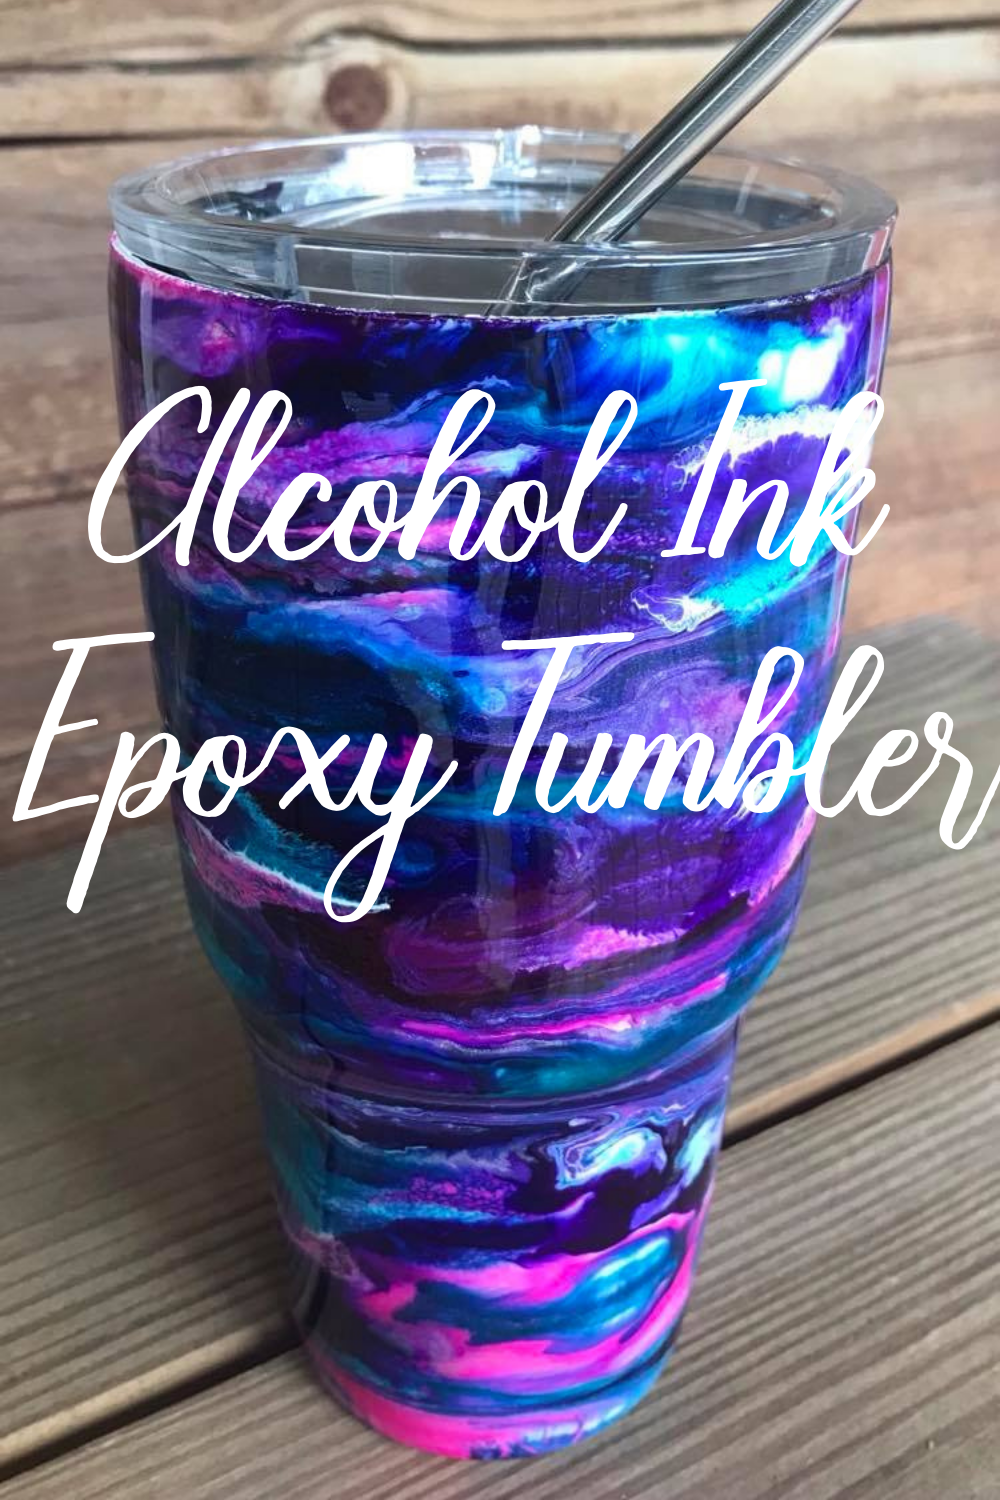
Hi Friends!! I am so excited about this post I finally got around to making an alcohol ink tumbler and let me tell you, they are so easy and fun!
I have been making more custom tumblers with this new technique and this might be my favorite one yet (I wish I could keep it!!)
The fun thing about these alcohol ink epoxy tumblers is that none of the tumblers will ever come out the same! Totally unique gifts, woohoo! I also have a free Motherhood SVG cut file for you too.
I made an alcohol ink tumbler for beginners video tutorial for you on how I applied the alcohol inks to the tumbler so you can actually see how easy it is.
Materials Needed for Alcohol Ink Custom Tumblers
- stainless steel mug – I used a Built brand mug (found here on Amazon) or at Walmart, but I also like Ozark and Mossy Oaks from Walmart.
- white spray paint (Rustoleum gloss protective enamel) – found here on Amazon or you can find it at your local Walmart
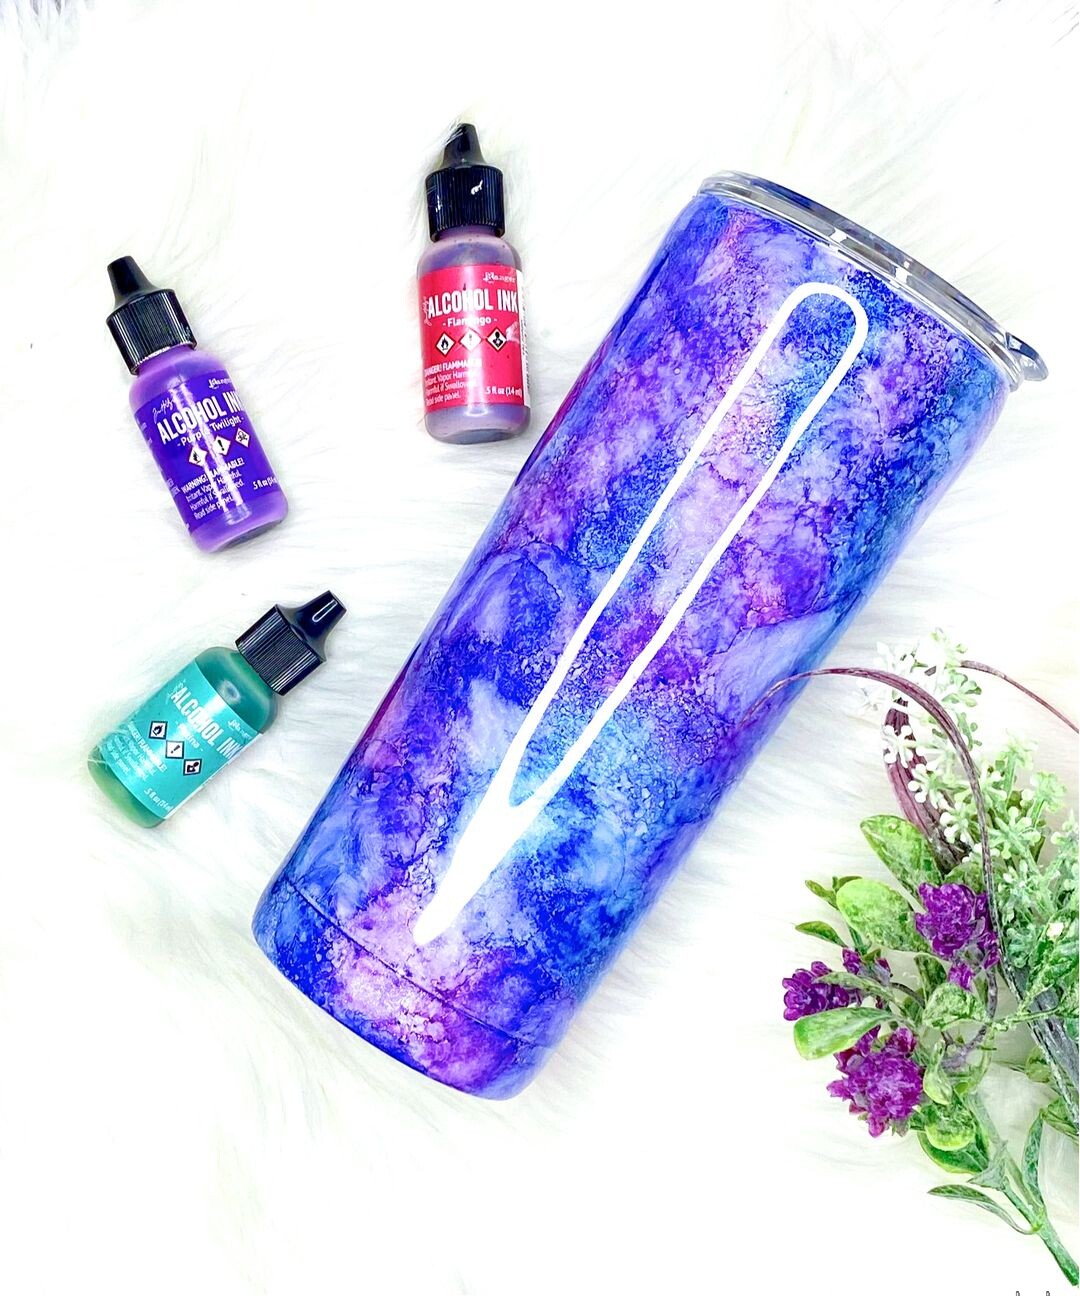
- Alcohol Inks – I used Mermaid, Indigo and Cranberry for this tumbler
- rubbing alcohol 91% – I got mine at Walmart
- makeup sponges
- Vinyl
- Cricut or another cutting machine
- squirt bottle, paper towels, gloves
- Free Motherhood powered by love, fueled by coffee, sustained by wine SVG cut file! – Download SVG here (As with all my files, these are for personal use only. If you would like to purchase a commercial use license, click here.)
What is Alcohol Ink?
Before we get into how to do alcohol ink on tumblers, let’s talk about what alcohol inks are.
These are alcohol-based inks that are highly pigmented and dry super fast. The alcohol actually evaporates once the ink dries leaving the vibrant colors. Alcohol inks work great on non-porous hard surfaces such as ceramic, resin, glass, plastic, and metal.
There are now many brands of alcohol inks because they have become a popular medium to craft with. Alcohol inks usually come in small bottles with a lid to squirt out.
I’ve always used Tim Holtz Ranger brand which I haven’t had any problems with!
Alcohol Ink Tumbler Tutorial
Ok, so let’s look at how to use alcohol ink on tumblers.
The first thing I did was to tape off the top of my stainless steel mug and spray paint it white. You can use any base color, but white really makes the colors pop. For a video tutorial on how I spray paint tumblers click here.
Once the paint is dry, it’s time to apply the alcohol inks!
I cut the cosmetic wedges in half so there’s less waste. Decide on what you want for your base layer. I wanted the teal (mermaid) color to be most prominent so I started with that one. Squeeze a little on the wedge and start dabbing.
It is much easier to explain this through video. Make sure to watch the video at the top or on the side!
I’ll also explain the steps for those of you who do better with written instructions.
first
Once the first layer is dabbed on, do the same thing for the second color. I used Indigo next.
You have the option of dabbing in all random areas like I did, or you can put colors in certain areas. It’s entirely up to you! Have fun with it!
Then I dabbed the cranberry color on, trying to make sure all the white was colored up.
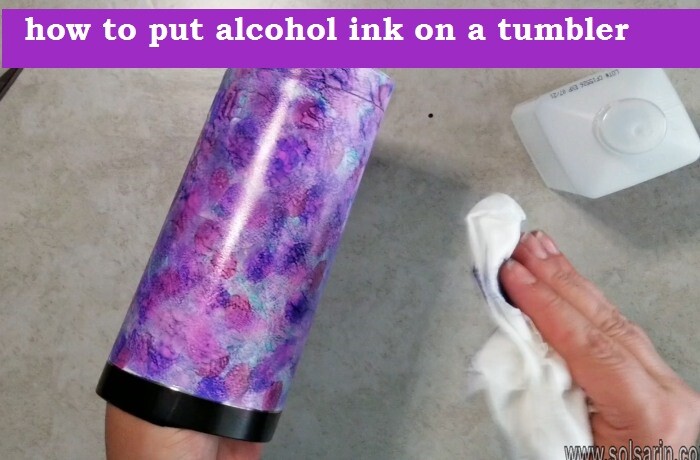
Now it’s time to spread the ink out a bit and dilute it. So once you have all the color on the tumbler, put a little bit of 91% rubbing alcohol on a paper towel and start dabbing the mug.
The colors will start blending! If you want more color on it, you can always dab on another layer.
the entire tumbler
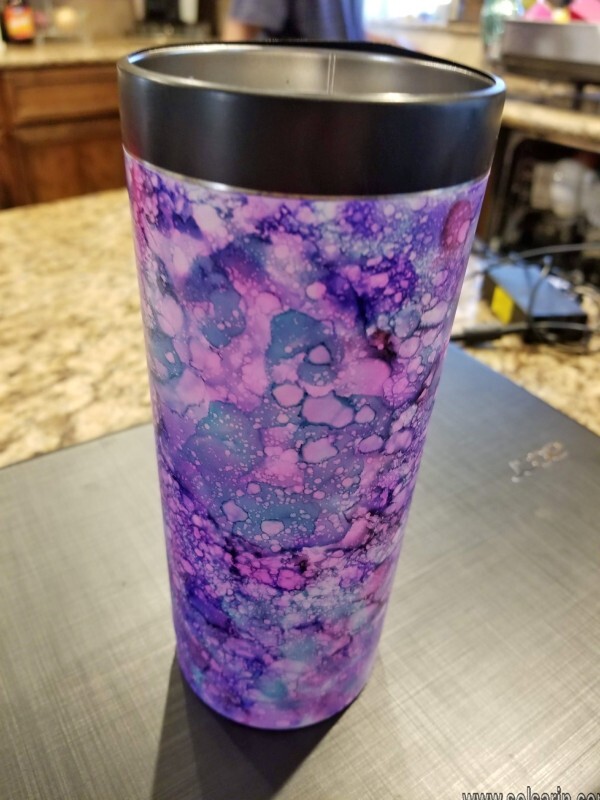
Once you have the entire tumbler blended, you can do this optional step which I think is the best. Put a little bit of the rubbing alcohol in a squirt bottle.
Hold it about 8-10 inches away and squirt it on the mug. Start slowly so you can see what it is doing. You’ll see the cool drop effect form!
Rotate the mug as you continue slowly squirting on the alcohol. It’s more like misting the mug!
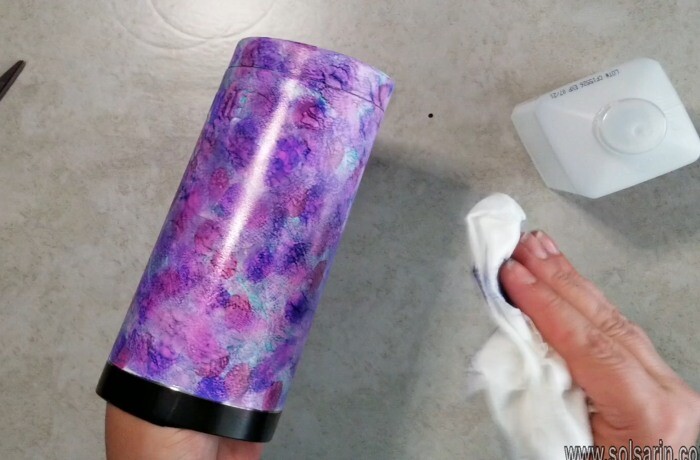
This is how my tumbler ended up after I squirted it. You’ll notice it doesn’t look the same as my finished product. That is one thing you have to be mindful of or you need to seal it!
wood grain tumbler
Don’t be totally in love with it and get upset if it changes a little during the epoxy step. If you really want it to stay exactly the same way, spray a sealant over it as I did in my wood grain tumbler before you apply the epoxy.
Once it’s dry, you can put your first layer of epoxy on the alcohol ink tumbler. Remove the tape and add a new piece on just a few mm above the paint line.
If you’d like to watch a video tutorial on how I apply the electrical tape click here.
I wanted a little bit of glitter in it so I added some glitter into my epoxy (totally optional!). For my detailed step by step tutorial on how to epoxy a tumbler, click here.
Apply the Vinyl Decal to the Tumbler
Once the first layer of epoxy resin is dry, you can add your vinyl decals. If you’d like to use my free Motherhood cut file, make sure you download it from the link above.
If you need help with this step, check out my video tutorial here on how to upload files to CDS. Use your Cricut to cut out the vinyl and then weed off the extra.
Tumbler
Tumbler may refer to:
- Tumbler (glass), a type of glassware
- Tumbler (pigeon), a pigeon breed
- Tumbler (Project Xanadu), a unique identifier of a unit of text or an embedded link.
resource: wikipedia
read more: